Building a website that is both visually stunning and highly functional can be a challenging task, especially for those without extensive coding knowledge.
Webflow offers a powerful platform that enables users to create professional-grade websites through a user-friendly interface, combining design flexibility with robust development capabilities.
Whether you're a beginner looking to create your first site or an experienced designer aiming to streamline your workflow, Webflow provides the tools you need.
This full guide will walk you through the process of building a Webflow website, from initial setup to final publication, ensuring you create a site that meets your specific needs and goals.
What Is Webflow?

Webflow is a powerful web design tool that allows users to build responsive websites visually, without needing to write code. It combines a user-friendly drag-and-drop interface with the flexibility and customization typically reserved for developers.
Webflow offers a range of features including CMS capabilities, ecommerce functionality, and hosting, making it a versatile choice for both designers and developers. With Webflow, you can create professional, custom websites quickly and efficiently, while maintaining complete control over the design and functionality.
Building a Webflow Website
Sign Up
Start by going to Webflow’s website and signing up: https://webflow.com/

You will go through a quick onboarding process by answering questions about the website and its purpose.

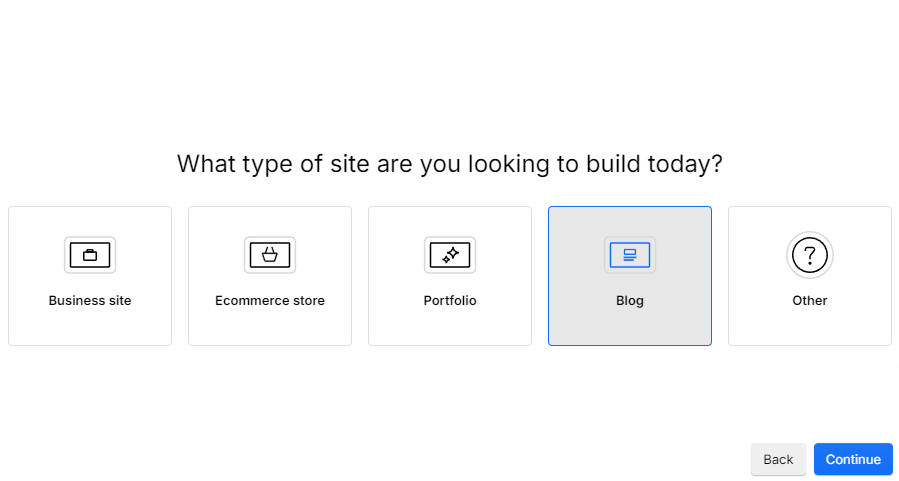
Select a Template
Just before finishing the onboarding process, you will be asked how you’d like to get started. You can choose to select a template if you desire, to make this process much quicker.


Once you are done, you will be taken to the editor. Notice the tutorial options at the bottom right-hand corner. We highly recommend you go over them, as they are easy to follow and tell you everything you need to know.

Start Editing
Now, you can start editing your website. Let’s go over the important part of the editor.
The Top Bar
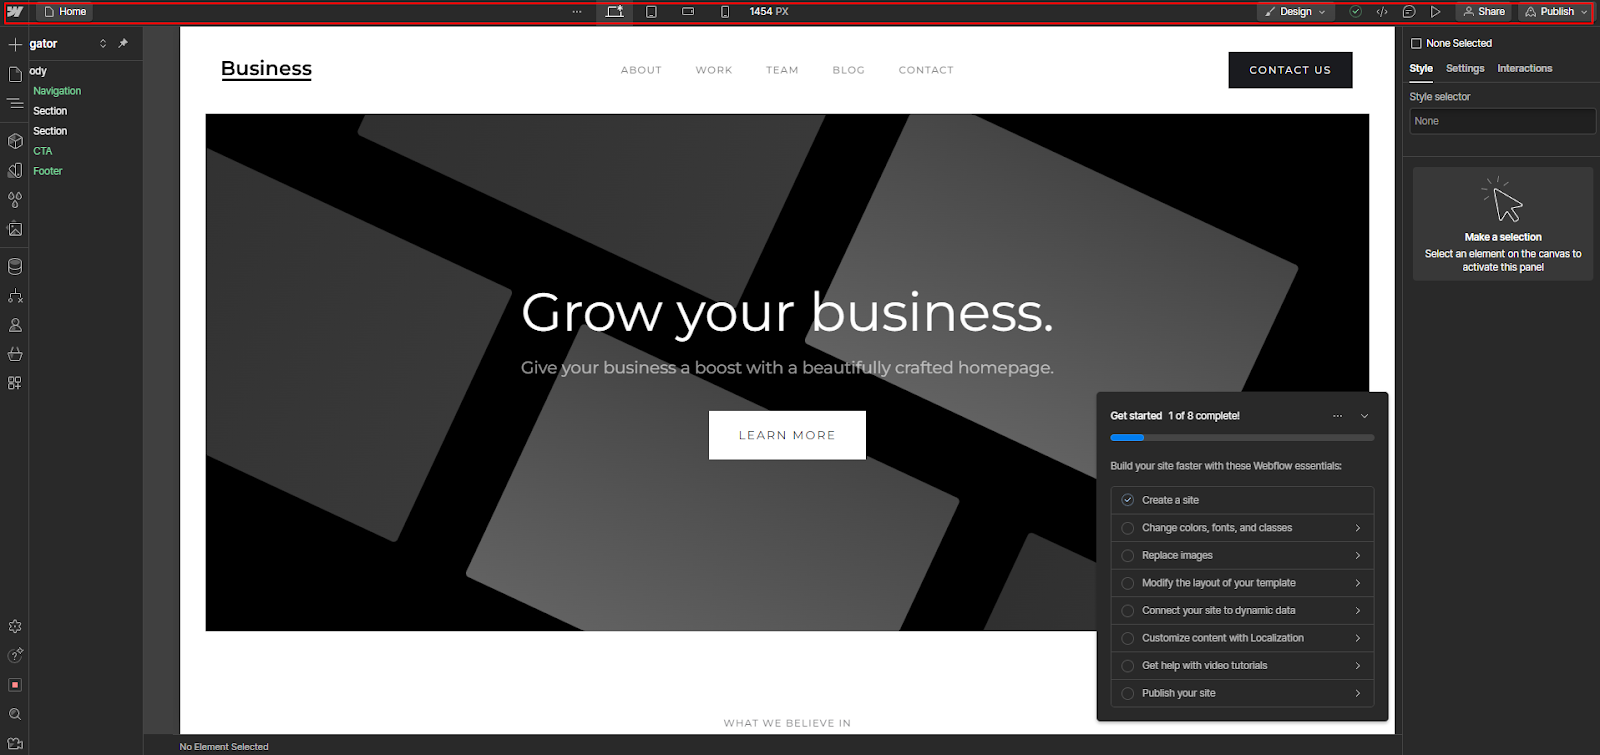
The top bar of the Webflow website builder is a hub of essential tools that streamline the design process.
It features a Navigation menu for quick access to different parts of your project and a device display toggle to preview your site on various screen sizes.
You can easily switch between Design and Edit modes; Design mode lets you style elements and build layouts, while Edit mode allows for the modification of static and dynamic content.
Additionally, the top bar provides options to share and publish your website, add custom code, view comments, and enable a preview to see how your site looks in real-time.
The Right Sidebar

The right sidebar in Webflow is packed with tools to fine-tune your website's design and functionality.
It includes panels for element settings like typography, spacing, and positioning, allowing precise control over each component's appearance.
The Styles panel lets you adjust visual aspects such as colors, borders, and shadows, while the Layout panel helps manage flexbox and grid settings. There's also the Interactions panel for adding animations and dynamic behaviors.
Additionally, you can access the Element settings to manage attributes and properties specific to selected elements, ensuring every detail of your site is perfectly tailored to your vision.
The Left Sidebar
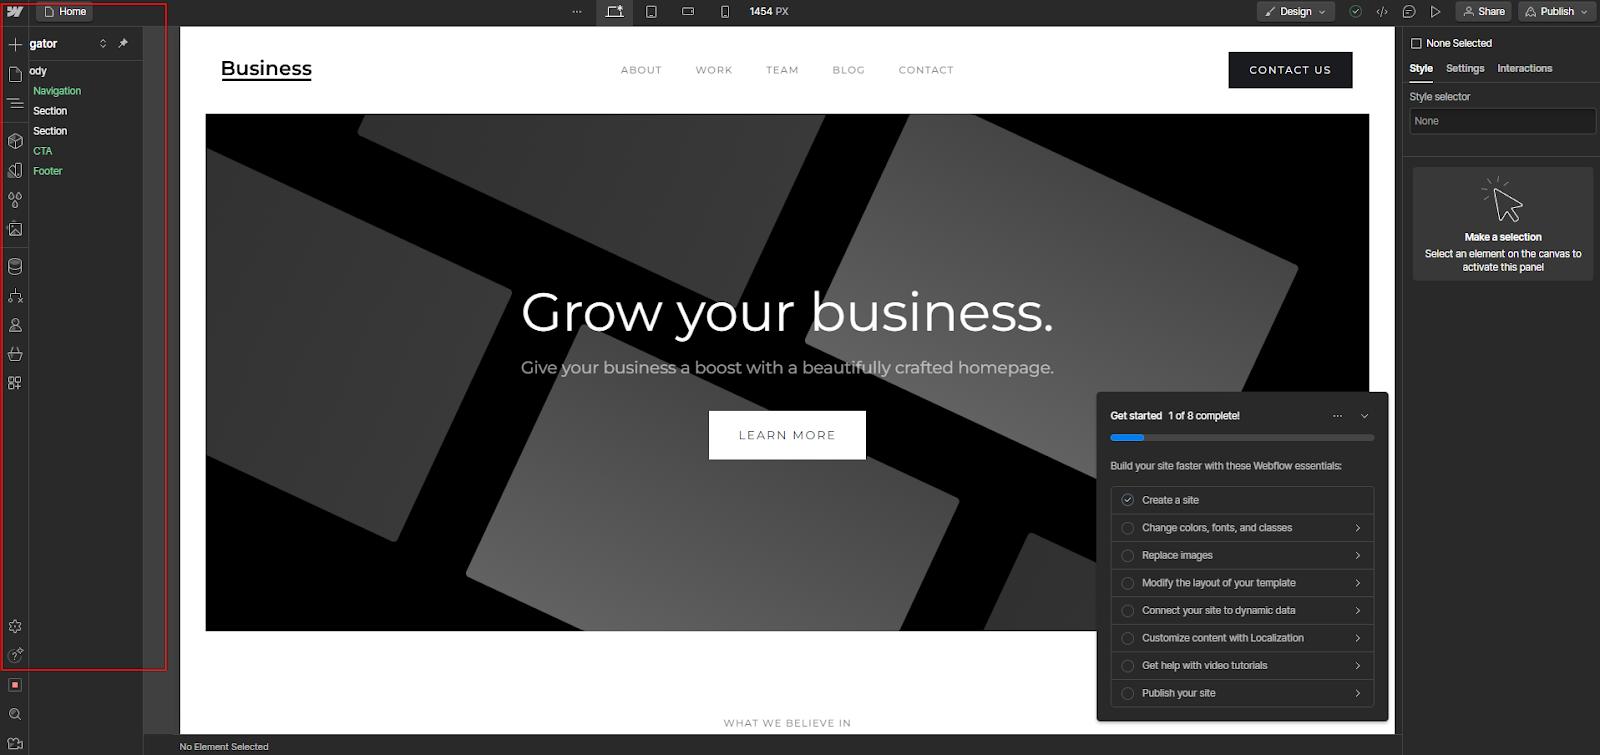
The left sidebar in Webflow is your main navigation hub for managing different aspects of your project.
It includes the Pages panel, where you can create, organize, and navigate between your site's pages.
The Components panel lets you create reusable components to maintain consistency across your design. In the Assets panel, you can upload and manage images, videos, and other media files.
The CMS Collections panel is essential for dynamic content, allowing you to create and manage content structures like blogs or product lists.
Additionally, there's the Ecommerce panel for managing products, categories, and orders if you're running an online store.
Here are some of the more important options:
Pages Panel
The Pages panel is where you can create, organize, and navigate between all the pages of your website.
It allows you to add new pages, set page hierarchies, and manage SEO settings for each page. This panel ensures you have a clear structure and easy access to every part of your site, facilitating efficient navigation and organization.
Components Panel
The Components panel is designed to help you create and manage reusable components within your website.
Components are elements or groups of elements that you can use multiple times across your site, maintaining design consistency. Any changes made to a Component will automatically update across all instances, saving time and ensuring uniformity.
Assets Panel
The Assets panel is your repository for all media files used in your project, including images, videos, and documents. It allows you to upload, organize, and manage these files, making it easy to find and use them throughout your design.
You can also optimize and edit images directly within this panel to ensure they meet your site's needs.
CMS Collections Panel
The CMS Collections panel is essential for managing dynamic content on your website. It enables you to create and structure collections of content, such as blogs, portfolios, or product listings.
This panel allows you to add, edit, and organize items within each collection, making it simple to manage large amounts of content and display it dynamically across your site.
E-commerce Panel
The e-commerce panel is tailored for managing online stores within Webflow. It allows you to handle products, categories, and orders with ease. You can add and organize products, set pricing and inventory levels, and manage customer orders.
This panel also integrates with other e-commerce tools and settings, providing a comprehensive solution for running an online business.
Navigator Panel
The Navigator panel provides a tree view of all elements on your current page, allowing you to easily select and manage elements within your layout.
This hierarchical view is particularly useful for complex designs, as it gives you a clear overview of the structure and helps you navigate to specific elements quickly.
Settings Panel
The Settings panel offers a range of project-wide settings and configurations. Here, you can manage your project's general settings, custom code, integrations, and backups.
This panel ensures you have control over all technical aspects of your project, from SEO settings to custom domain configurations.
Logic Panel
The Logic panel allows you to automate workflows and interactions within your Webflow project.
It enables you to set up conditions and actions that trigger based on user interactions or other events.
This panel is powerful for creating dynamic, interactive experiences without needing to write custom JavaScript, enhancing the functionality and user engagement of your site.
Publish
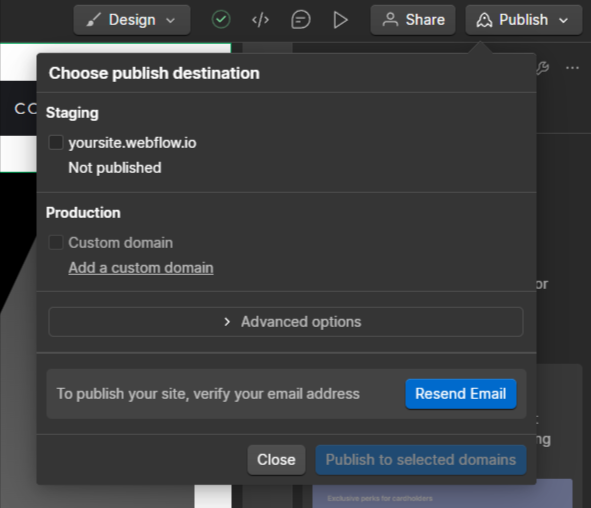
Once you are done creating your website, you can easily publish it via the “publish” button located in the top right corner of the Webflow interface.
This action makes your site live and accessible on the web. Webflow provides the option to publish your site using a Webflow subdomain, which is quick and straightforward for initial testing and development.
If you prefer a more professional appearance or already own a domain, you can connect a custom domain to your Webflow project.
This flexibility allows you to choose the best option for your needs, ensuring your website is ready for your audience.
Enhancing Your Webflow Website & Taking It to the Next Level
Now you know how to build a Webflow website, we would like to offer a way to enhance it beyond its current capabilities — with Common Ninja.
Common Ninja offers an ever-growing collection of professional and reliable widgets that will help you save time and money and improve your website. Common Ninja’s widgets are free, fully customizable, perfectly responsive, and easy to use, so be sure to check them out.
Common Ninja — The Only Collection of Widgets You’ll Ever Need
Building a Webflow Website — Tips & Tricks
Once you are done building your Webflow website, you might want to consider following these tips and tricks to make your Webflow website truly stand out.
Design
Designing a website is no easy task. Choosing the right colors, fonts and other elements is not only an art but a science as well. There’s importance in setting up the font and color scheme for the entire website before constructing it. We recommend reading a little about color theories, font pairings, styles, layouts & accessibility guidelines before venturing into building your Webflow website.
Content
Before you start building your website, take the time to plan out your content. This will help you organize your website and create a better user experience for your audience.
Templates
Webflow offers a wide range of templates to choose from. Select a template that matches your website’s content and design needs.
High-Quality Images
While using high-quality, heavy images may seem counterintuitive if you are trying to optimize your website, many services can help you in reducing the size, as well as load the images gradually (lazy-loading) to make the loading speed faster. Using high-quality images will help make your website more visually appealing and engaging for your audience.
Simplicity
Avoid cluttering your website with too much content, images, or design elements. Keep it simple and clean, with a focus on your main message and call to action.
Testing & Previewing
Test your website on different devices and browsers to ensure that it looks and functions as intended. Webflow offers a preview function that allows you to see how your website looks on different screens.
Optimize
We’ve covered this before, but we recommend that you optimize your website, and use Webflow’s built-in SEO tools that can help improve your website’s visibility on search engines.
Conclusion
In conclusion, building a Webflow website offers a seamless and efficient way to create a high-quality online presence. This guide has covered the essential steps from setting up your account and designing your layout to adding content and publishing your site.
By following these detailed instructions, you can leverage Webflow’s powerful features to create a website that is not only visually appealing but also highly functional and responsive. Embracing Webflow's capabilities will enable you to build a professional site that stands out, helping you achieve your online objectives with ease.